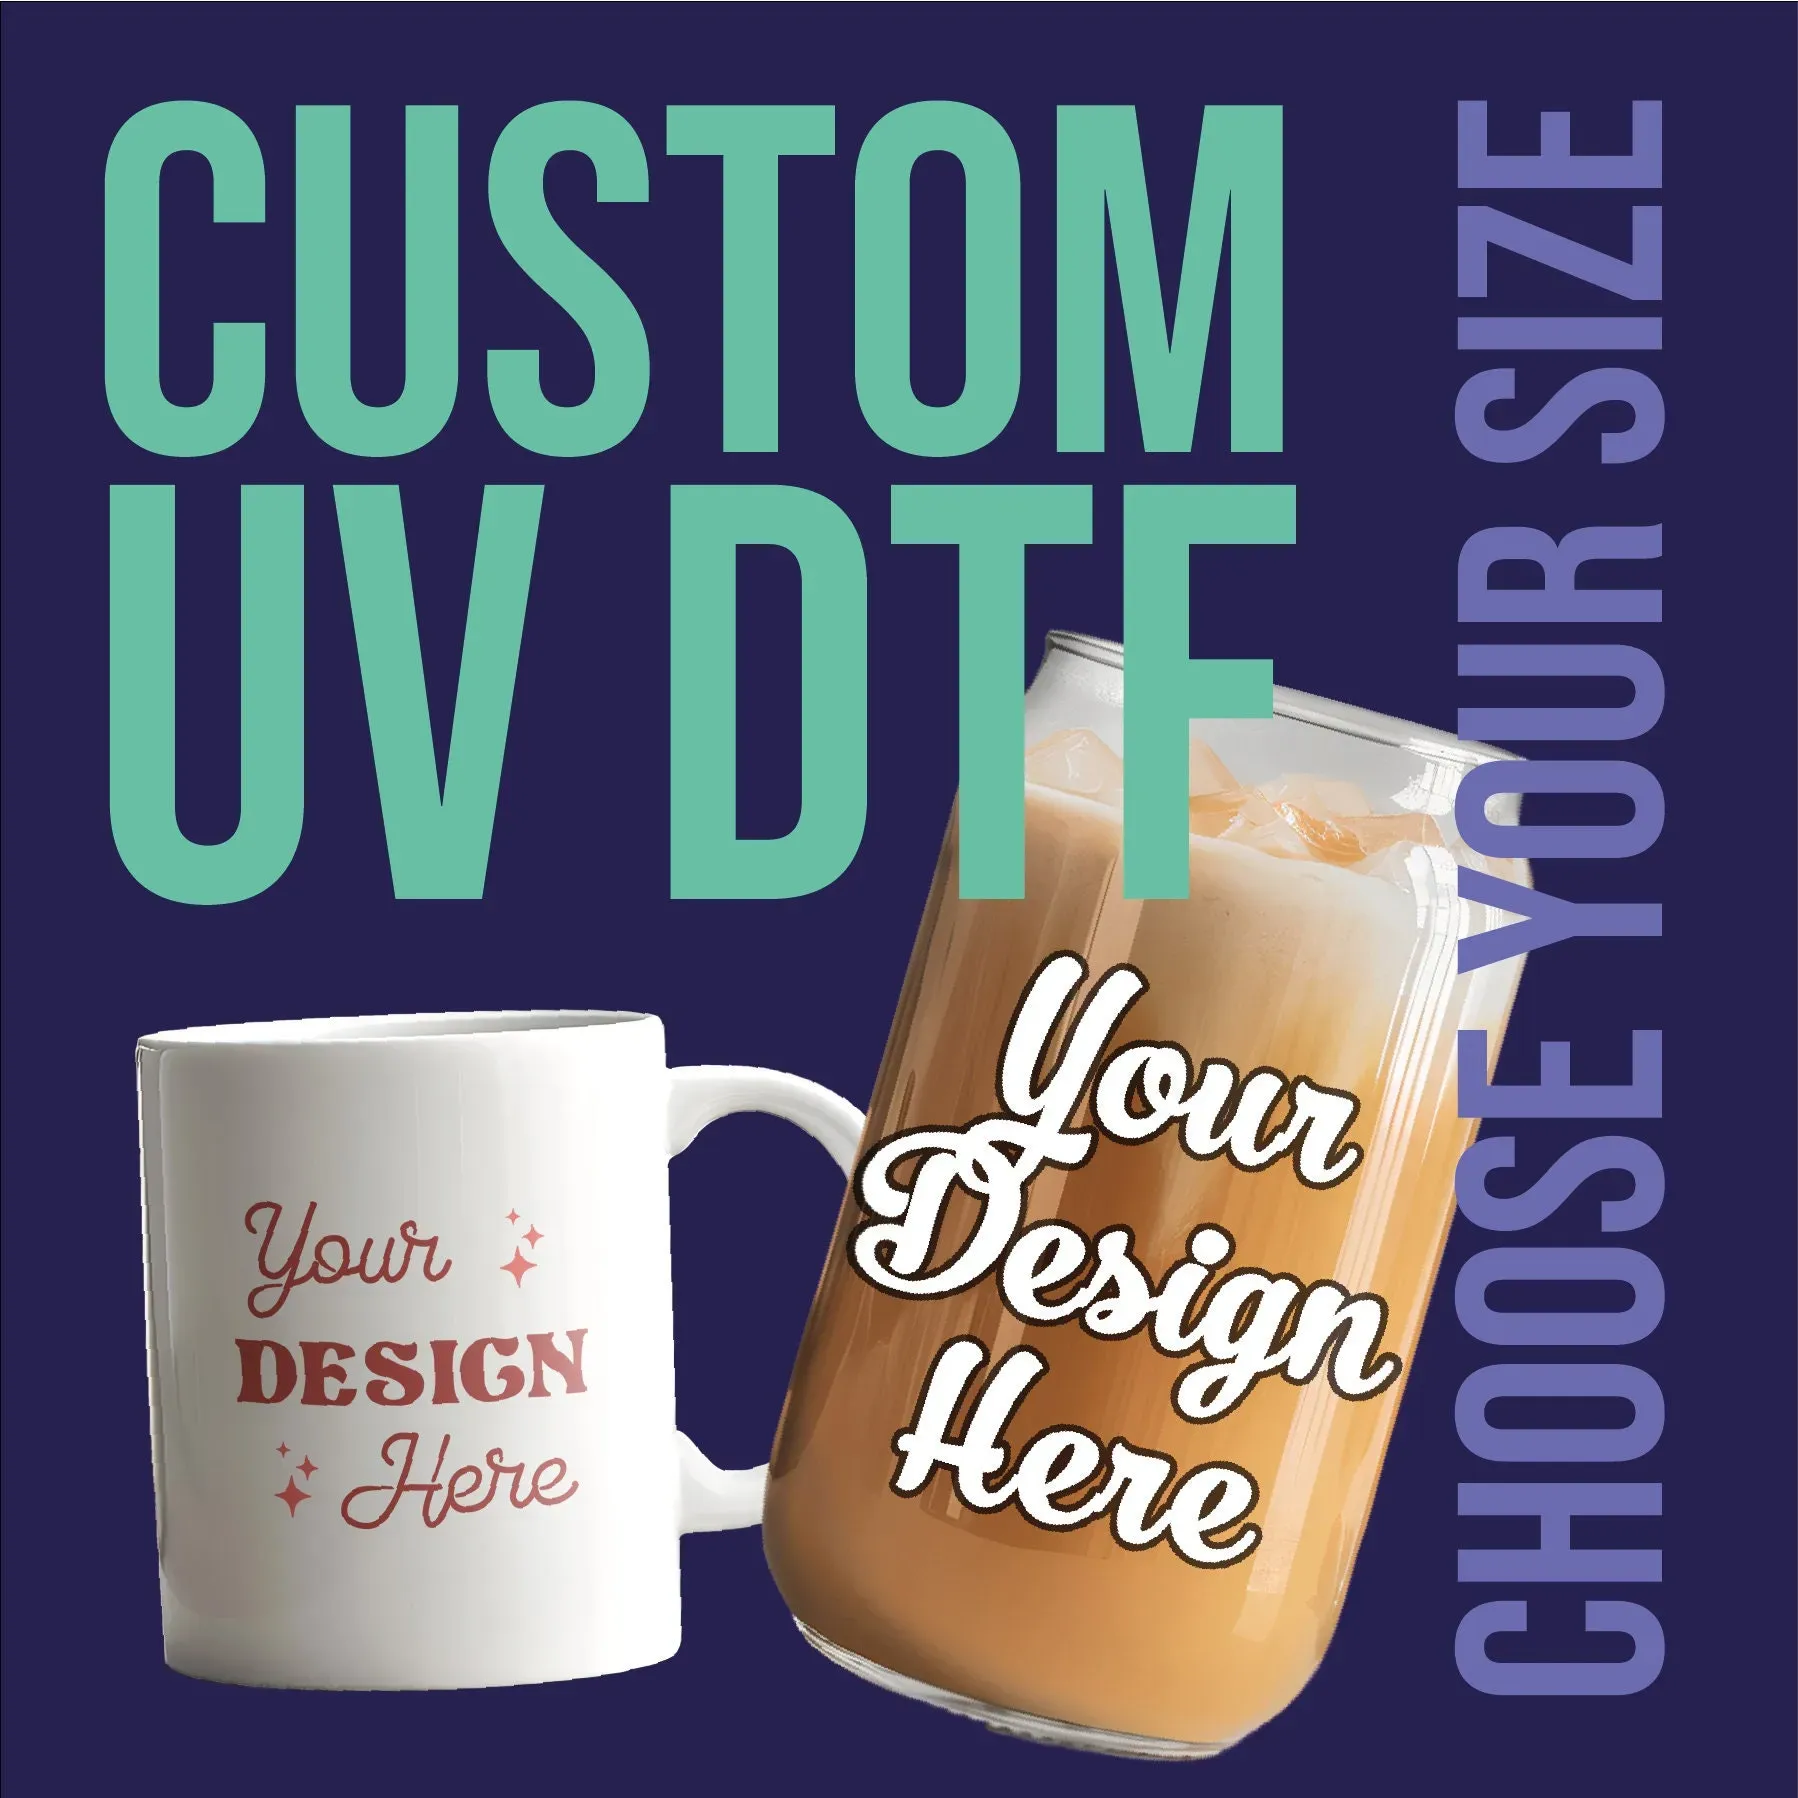
Custom Mugs with UV DTF Transfer are redefining how we personalize drinkware, offering bold color, sharp detail, and lasting durability. In this guide, you’ll explore UV DTF transfer on mugs and how it stacks up against traditional coating methods. We’ll cover a DTF transfer mugs tutorial that walks you through a repeatable workflow from design to finished mug. You’ll learn how to print on mugs UV DTF effectively, with practical UV DTF mug printing tips and guidance on color matching and press settings. From batch production for markets to thoughtful gifts, this approach blends creativity with durable results you can trust.
Beyond the exact workflow, the topic can be framed in broader terms as personalized ceramic gifts created with a UV-curable film transfer. This approach uses modern print-on-demand techniques to decorate mugs on demand, tapping into a wide color range and crisp imagery on a variety of mug finishes. By thinking in terms of surface decoration via film, we align with related concepts like heat-press transfers for drinkware, digital ink transfer methods, and durable ceramic prints for gifts and promo items. In short, you’re looking at a versatile method for elevating mug art with reliable, long-lasting results.
Understanding UV DTF Transfer on Mugs
UV DTF transfer on mugs combines UV-curable inks with a direct-to-film workflow to produce sharp imagery on ceramic surfaces. This method delivers vibrant color, high detail, and strong adhesion, making mugs durable for everyday use. Unlike some dye-sub approaches, UV DTF can work on a wider range of mug colors and finishes, including whites and light ceramics that showcase color punch without dye migration.
Compared to traditional sublimation, UV DTF keeps the surface free of heavy coatings and relies on a transfer film to carry the image. For learners, mastering the basics of how to print on mugs UV DTF is about design margins, film handling, and proper heat application. If you are starting out, practice with a simple design on a test mug to learn how curvature affects alignment and edge durability.
Essential Tools and Materials for DTF Mug Transfers
For a solid start, gather a UV DTF printable transfer film, compatible ink, and a printer suited for film transfers. If you are following a DTF transfer mugs tutorial, you will want a reliable heat source, a mug press or wrap system, and heat resistant tape to secure the film during pressing.
Choose smooth ceramic mugs and prep the surface with isopropyl alcohol to remove oils. Consider a protective topcoat for extra durability and a workflow that minimizes misprints. For UV DTF mug printing tips, practice on a few test mugs and document recommended temperatures and times for your equipment and film.
Design Considerations for Mug Transfers: Bleed, Margins, and Curves
When planning artwork for mugs, work at high resolution and include a 2-3 mm bleed around the edge. Think about the curvature and keep important elements inside safe margins to avoid distortion near seams. If you are curious about practical steps in how to print on mugs UV DTF, start with a simple wrap design and test alignment on a spare mug.
Choose colors with strong contrast against the mug base and design wrap possibilities that align with the center of the mug. Bold typography and scalable logos maintain readability when curved around a cylinder. The core idea remains the same as UV DTF transfer on mugs keep critical details away from edges and test alignment with grid marks on the film.
Custom Mugs with UV DTF Transfer: A Step-by-Step Workflow
This workflow begins with design and prep for custom mug printing with DTF. Create artwork that fits the mug printable area, includes safe margins, and export a print ready file. Framing the project as custom mug printing with DTF helps set expectations for color fidelity and durability across batches.
Print the transfer film using calibrated printer settings, cut the image with a small edge margin, and apply it to the mug with a heat press. For best results, follow the DTF transfer mugs tutorial steps and monitor pressure and temperature around 160°C to 170°C. Use a brayer or roller to remove air bubbles, then carefully peel and cure as advised by your film manufacturer. The plan should include UV DTF mug printing tips to optimize performance on curved surfaces.
Troubleshooting Common Issues in UV DTF Mug Printing
Misalignment can happen if the guides aren’t checked. Reposition and re-press if needed after test runs. UV DTF transfer on mugs requires consistent heat distribution to avoid edge peeling and scorching.
Color fading or ghosting often points to calibration gaps such as printer profiles, ink density, film compatibility, or cure time. Ensure the surface is clean of oils and dust and maintain even pressure. Following UV DTF mug printing tips can help you keep results consistent across runs.
Creative Strategies to Grow a Mug Line with UV DTF
Seasonal themes, personalization, and bold typography help you grow your mug line while staying within the capabilities of UV DTF transfer on mugs.
Pair mugs with coasters, gift packaging, and collaborations to add value. Document your workflow and share a DTF friendly process that others can adapt. This approach blends creative design with the practicalities of custom mug printing with DTF and scalable production.
Frequently Asked Questions
What are Custom Mugs with UV DTF Transfer and why choose them for gifts or products?
Custom Mugs with UV DTF Transfer combine UV printing with direct-to-film transfer to produce vivid, durable images on ceramic mugs. They offer a broad color gamut, sharp detail, and strong adhesion across many mug colors, making them ideal for portraits, bold graphics, and personalized gifts. Optional topcoats can further improve dishwasher resistance.
What is a DTF transfer mugs tutorial, and how can I use it to create Custom Mugs with UV DTF Transfer?
A DTF transfer mugs tutorial is a step-by-step guide for designing, printing, cutting, applying, and curing UV DTF transfers on mugs. Following a solid tutorial helps you build a repeatable workflow for Custom Mugs with UV DTF Transfer and reduces mistakes from misalignment or insufficient curing.
What materials do I need for custom mug printing with DTF using UV DTF transfers?
Key materials include a high-resolution design (300 dpi+ with bleed), UV DTF printable transfer film and compatible ink, a UV DTF printer or compatible alternative, a heat press or mug press, smooth ceramic mugs, heat-resistant tape, a cutter or scissors, a squeegee or brayer, isopropyl alcohol for surface prep, protective gloves, and a suitable topcoat if desired.
How to print on mugs UV DTF correctly to avoid misalignment or scorching (how to print on mugs UV DTF)?
Plan with a design sized for the mug wrap, include 2–3 mm bleed, and use alignment marks. Print with calibrated UV DTF settings, prepare the mug surface, secure the film with tape, and apply the recommended temperature, time, and pressure. A gradual, even press and a test run help prevent misalignment and scorching.
What are UV DTF mug printing tips for best results?
UV DTF mug printing tips include calibrating the printer for accurate color, ensuring proper cure time, using the correct transfer film, securing the film to prevent shifting, applying even pressure, and considering a protective topcoat for longer life on ceramic surfaces.
How can I troubleshoot common issues with Custom Mugs with UV DTF Transfer?
Common issues include misalignment, peeling edges, fading colors, and ghosting. Fixes include rechecking alignment guides, ensuring clean, oil-free mug surfaces, confirming film-to-ink compatibility, adjusting heat and pressure, re-pressing if needed, and consulting the film’s curing guidelines for best results.
| Aspect | Key Points |
|---|---|
| What is UV DTF transfer for mugs? |
|
| Benefits vs traditional methods |
|
| What you’ll learn |
|
| Core concepts: UV DTF transfer on mugs vs. traditional methods |
|
| Materials and tools you’ll need |
|
| Design considerations |
|
| Step-by-step tutorial: from design to finished mug |
|
| Care tips to maximize life and performance |
|
| Troubleshooting common issues |
|
| Creative ideas to expand your mug line |
|
| Safety and best practices |
|