
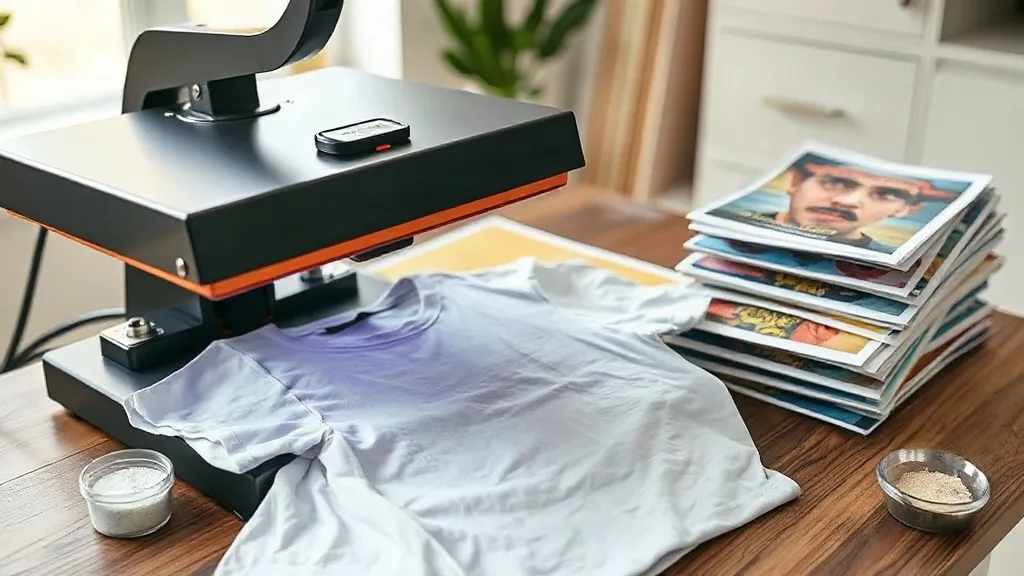
Imagine pressing a button and watching a full-color design come to life on a t-shirt, tote bag, or even a pair of jeans. That's the magic of dtf printing. Unlike traditional methods that require multiple screens or specialized setups, DTF (Direct to Film) printing simplifies the process, making it accessible for beginners and professionals alike. In this guide, we'll walk you through everything you need to know about DTF printing, from the basics to advanced tips, so you can start creating vibrant, durable custom apparel right away.
What Exactly Is DTF Printing?
DTF printing stands for Direct to Film. It's a digital printing technique where your design is printed onto a special film, coated with adhesive powder, and then heat-pressed onto fabric. The result? A soft, stretchable print that bonds permanently to the material. Unlike DTG (Direct to Garment) printing, which requires pre-treatment and works best on cotton, DTF can be applied to a wide range of fabrics, including polyester, blends, and even leather. This versatility is one reason why DTF has exploded in popularity among crafters and small business owners.
Why Choose DTF Transfers?
If you're new to custom apparel, you might wonder why DTF transfers are worth considering. Here are some compelling reasons:
- No color limitations: DTF printers use CMYK plus white ink, so you can print gradients, photographs, and intricate details without worrying about color matching or screen setups.
- Fabric flexibility: Works on cotton, polyester, nylon, leather, and more. You're not limited to one type of material.
- Durability: When applied correctly, DTF prints withstand repeated washing without cracking, peeling, or fading.
- Cost-effective for small batches: No minimum order quantities, making it perfect for one-off custom items or small runs.
- Soft feel: The prints are thin and flexible, so they don't feel like a heavy plastic patch on the garment.
These advantages have made dtf transfers a go-to solution for personalized gifts, sports team uniforms, and promotional merchandise.
How Does the DTF Printing Process Work?
Understanding the steps involved helps you troubleshoot issues and achieve professional results. Here's a breakdown of the DTF workflow:
1. Design Preparation
Start with a high-resolution image. Vector files are ideal, but 300 DPI raster images work well too. Remember that DTF prints are opaque, so you don't need to worry about background colors unless you want them. However, if your design has white areas, the printer will use white ink to make them pop.
2. Printing onto Film
The DTF printer prints your design onto a special PET film. The printer lays down a layer of white ink first (if needed), followed by CMYK colors. This ensures vibrant colors on dark fabrics. The film is then coated with a thermoplastic adhesive powder, which is melted in a curing oven or with a heat gun. This powder is what allows the transfer to stick to the fabric.
3. Heat Press Application
Once the film is prepared, you're ready to transfer. Set your heat press to the recommended temperature (usually around 300-350°F) and pressure (medium to firm). Place the film on the garment with the design facing up, cover with a protective sheet, and press for 10-15 seconds. After pressing, let it cool completely before peeling off the film. For a matte finish, you can use a second press with a Teflon sheet.
Common Mistakes to Avoid with DTF Printing
Even though DTF is user-friendly, a few missteps can ruin your results. Watch out for these pitfalls:
- Insufficient pressure: If the pressure is too low, the transfer won't adhere properly. Always test your press settings.
- Wrong temperature: Too hot and the film may melt or the adhesive may burn; too cold and the print won't stick. Use a temperature gun to verify.
- Peeling too soon: Patience is key. Let the transfer cool completely before peeling. Peeling while hot can cause the design to stretch or tear.
- Not storing film properly: Keep unused film in a dry, dust-free environment. Moisture can affect print quality.
- Ignoring fabric type: While DTF works on many fabrics, some like nylon require lower temperatures. Always test on a scrap piece first.
DTF vs. Other Printing Methods
How does DTF stack up against screen printing, DTG, and vinyl? Here's a quick comparison:
- Screen Printing: Great for large orders with few colors, but setup costs are high and it's not cost-effective for small batches.
- DTG: Best for 100% cotton and complex designs, but requires pre-treatment and often has a softer, less vibrant finish on dark shirts.
- Vinyl: Ideal for simple one-color designs, but layering multiple colors is time-consuming and the result can be bulky.
- DTF: Combines the best of all worlds: no color limits, works on almost any fabric, and is cost-effective for any order size.
For many small businesses and hobbyists, DTF has become the preferred method because it eliminates the trade-offs of other techniques.
Getting Started with DTF: What You Need
Ready to dive in? Here's a basic checklist of equipment and supplies:
- A DTF printer (or access to a printing service if you're not ready to invest).
- DTF film (PET film).
- Adhesive powder (TPU or polyamide).
- Heat press.
- Curing oven or heat gun.
- Protective sheets (Teflon or parchment paper).
- Quality garments for testing.
If you're not ready to buy a printer, you can order custom dtf transfers from a reputable supplier and apply them yourself. This is a great way to test the waters before committing to the full setup.
Tips for Perfect DTF Transfers Every Time
Even with the right equipment, achieving flawless results takes practice. Here are some expert tips to help you along:
- Pre-press your garment: This removes moisture and wrinkles, ensuring a smooth application.
- Use a lint roller: Any lint or dust on the fabric can prevent proper adhesion.
- Adjust pressure evenly: Make sure your heat press applies consistent pressure across the entire platen.
- Test peel methods: Some films are hot-peel, some cold-peel. Always follow the manufacturer's instructions.
- Wash inside out: To extend the life of your print, wash garments inside out in cold water and avoid harsh detergents.
With a bit of experimentation, you'll develop a feel for what works best with your specific setup.
Frequently Asked Questions About DTF Printing
How long do DTF prints last?
When applied correctly and cared for properly, DTF prints can last as long as the garment itself. They resist cracking and fading through dozens of washes. To maximize longevity, avoid ironing directly on the print and wash in cold water.
Can I use DTF on dark and light fabrics?
Absolutely. DTF printing uses a white ink base, so it works beautifully on both dark and light fabrics. The white layer ensures that colors remain vibrant and opaque, even on black or navy garments.
Do I need a special printer for DTF?
Yes, DTF requires a printer that uses DTF inks and can handle the film. However, if you don't want to invest in a printer, you can order ready-to-press DTF transfers from a supplier and apply them with just a heat press.
What fabrics work best with DTF?
DTF adheres well to cotton, polyester, cotton-poly blends, nylon, leather, and more. It's one of the most versatile printing methods available. For best results, avoid fabrics with a heavy water-repellent coating.
Is DTF printing cost-effective for small businesses?
Yes, especially for small batches and one-off items. Unlike screen printing, there are no setup fees or minimum orders. The cost per print is reasonable, and you can scale up as your business grows.
Whether you're a hobbyist looking to personalize gifts or a business owner wanting to offer custom apparel, DTF printing opens up a world of possibilities. With its ease of use, versatility, and professional results, it's no wonder that DTF has become a game-changer in the world of custom printing. So go ahead, unleash your creativity, and start pressing!