
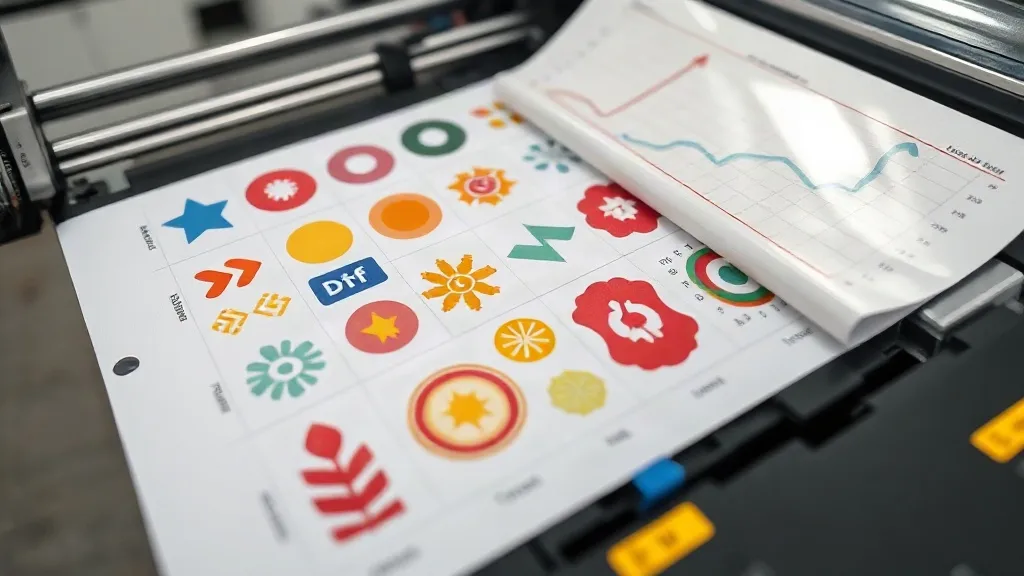
Every DTF printer knows the sting of peeling away a finished transfer and seeing a wide band of unused film and a thick layer of wasted ink. It feels like throwing money straight into the trash. But what if you could reclaim most of that waste without buying new equipment or changing your entire workflow? The answer lies in how you plan and build your DTF Gangsheet. By treating your gangsheet as a strategic tool rather than just a canvas, you can dramatically reduce film and ink consumption, cut production costs, and even speed up your turnaround times. This guide will walk you through practical, field-tested methods to make every square inch of film and every drop of ink count.
Why Film and Ink Waste Happens (and Why It Matters)
Waste in DTF printing rarely comes from a single catastrophic mistake. It accumulates through small, everyday habits: leaving excessive gaps between images, using film that's larger than necessary, or printing a sheet with only a few small designs when a more efficient layout was possible. Over a week, those small inefficiencies add up to significant costs. Film and ink are two of your largest recurring expenses, so shrinking waste directly improves your bottom line. More importantly, reducing waste also reduces your environmental footprint, which increasingly matters to customers and partners.
The good news is that you don't need to sacrifice quality to save money. In fact, a well-planned gangsheet often prints cleaner because you're minimizing unnecessary ink laydown and film handling. Let's look at how to rethink your approach from the ground up.
Rethinking Gangsheet Layout: Beyond Simple Nesting
Most printers already know about nesting, which means arranging designs closely to fit more on a sheet. But true waste reduction goes further. It's about optimizing the entire sheet for both film usage and ink consumption, while keeping the printing process smooth.
Start with the Right Film Size
Film comes in standard widths, but the length is up to you. Instead of defaulting to a full roll length, calculate the minimum length needed for your design cluster. Many RIP software programs allow you to set a custom sheet length, so you can trim off excess film before printing. If your software doesn't support that, consider cutting film to size before loading it. A few extra seconds of prep can save inches of film per job.
Group Designs by Ink Coverage, Not Just Size
Not all designs use the same amount of ink. A solid black block consumes far more ink than a delicate line drawing. When building your gangsheet, try to group designs with similar ink coverage together. This allows you to adjust printer settings, like ink density or pass count, for the whole sheet without over-inking lighter designs. It also helps maintain consistent curing times, since ink-heavy areas require more heat or time to dry properly.
Use Every Corner (Wisely)
Small designs like sleeve prints, pocket logos, or neck labels can fill gaps between larger items. But avoid the temptation to cram designs into every tiny space. Leave a minimum of 0.25 inches (about 6 mm) between images to prevent color bleeding and to make cutting easier. Also, keep a safe margin from the film edges; most printers need at least 0.5 inches of clean border for the roller to grip and for the powder to adhere evenly.
Ink-Saving Strategies That Don't Hurt Quality
Ink is expensive, and overspray or excessive laydown is pure waste. Here's how to dial in your printer for leaner ink use.
Calibrate Your Ink Limits
Every printer and ink set has a sweet spot for ink density. If you set it too high, you'll saturate the film, causing bleeding, longer curing times, and wasted ink. Too low, and colors look dull. Run a test print with a gradient step wedge to find the maximum ink level that still yields vibrant, opaque colors. Then, set that as your default in the RIP software. Many printers also offer a "ink saver" mode that reduces laydown slightly; test it on a small batch to see if the quality meets your standards.
Optimize White Ink Usage
White ink is often the thickest and most expensive. It's also the most prone to waste because it's used as a base layer. To minimize white ink consumption, ensure your designs have clean, sharp edges so you don't need multiple passes to cover stray pixels. Also, consider using a slightly lower white ink density if your fabric is light-colored; you might not need full opacity. And always check that your white ink circulation system is working properly to avoid clogged nozzles that force you to run extra cleaning cycles, which waste ink.
Reuse and Recycle Film Scraps
Leftover film pieces from trimming can often be reused for small test prints or tiny designs. Keep a bin of clean scraps sorted by size. When you need to run a nozzle check or a small logo, grab a scrap instead of cutting a fresh piece. This simple habit can save several feet of film each week.
Building a Waste-Conscious Workflow
Saving film and ink isn't just about the gangsheet itself; it's about the habits around it. Here are workflow tweaks that compound your savings.
- Batch similar jobs together: Instead of printing one small order at a time, accumulate orders and print them together on a single, efficiently packed sheet. This reduces setup time and film waste from partial rolls.
- Use print preview tools: Most RIP software offers a preview that shows ink usage and film length. Check it before sending the job; you might spot an easy optimization.
- Maintain your printer: A well-maintained printer wastes less ink. Regular cleaning, proper storage of ink and film, and timely replacement of worn parts prevent clogs and misfires that lead to wasted materials.
- Track your waste: Keep a simple log of film and ink used per job. Over time, you'll see patterns and identify areas for improvement.
Real-World Example: From Wasteful to Lean
Consider a small print shop that typically prints 20 t-shirts per day, each with a medium-sized front design and a small sleeve logo. By default, they'd print each order separately, using a 12x16 inch sheet per shirt, with the sleeve logo placed in a corner. That's 20 sheets per day, each with about 30% unused film. By batching all 20 front designs onto two large gangsheets (e.g., 24x36 inches each) and grouping all sleeve logos onto a third sheet, they reduce film usage by nearly 40%. Additionally, by adjusting ink limits and grouping similar ink coverage, they cut ink consumption by about 15%. The time saved from fewer sheet changes and less trimming also boosts productivity. Within a month, the savings add up to hundreds of dollars.
Frequently Asked Questions
How can I reduce film waste if my designs are all different sizes?
Use nesting software that automatically arranges designs for optimal fit, or manually rotate and align designs to fill gaps. Also, consider printing smaller designs on film scraps left over from previous jobs. If you have many odd-sized designs, group them by height and run them in rows, filling each row completely before moving to the next.
Does reducing ink density affect the durability of the transfer?
Not necessarily. Ink density affects color vibrancy and opacity, but durability mainly depends on proper curing and powder application. As long as you cure the transfer correctly and use quality powder, a slightly lower ink density can still produce a durable, wash-resistant print. Always test washability before committing to a new setting.
What's the best way to store film scraps for reuse?
Keep scraps in a clean, dry container, sorted by size. Avoid folding or creasing them, as creases can cause print defects. Label the container with the sizes available so you can quickly grab the right piece. Use scraps for test prints, small logos, or even as backing for heat press projects.
Can I print a gangsheet with mixed ink types (e.g., standard and fluorescent)?
It's possible, but not recommended. Mixing ink types on one sheet can complicate curing and may require different powder application. It's better to dedicate separate sheets to specialty inks to avoid waste from reprints or poor adhesion. If you must mix, test a small sample first.
How often should I calibrate my printer for optimal ink usage?
Calibrate whenever you change ink brands, film type, or after major maintenance. Otherwise, a monthly check is sufficient. Keep a record of your settings so you can quickly revert if something goes wrong.