
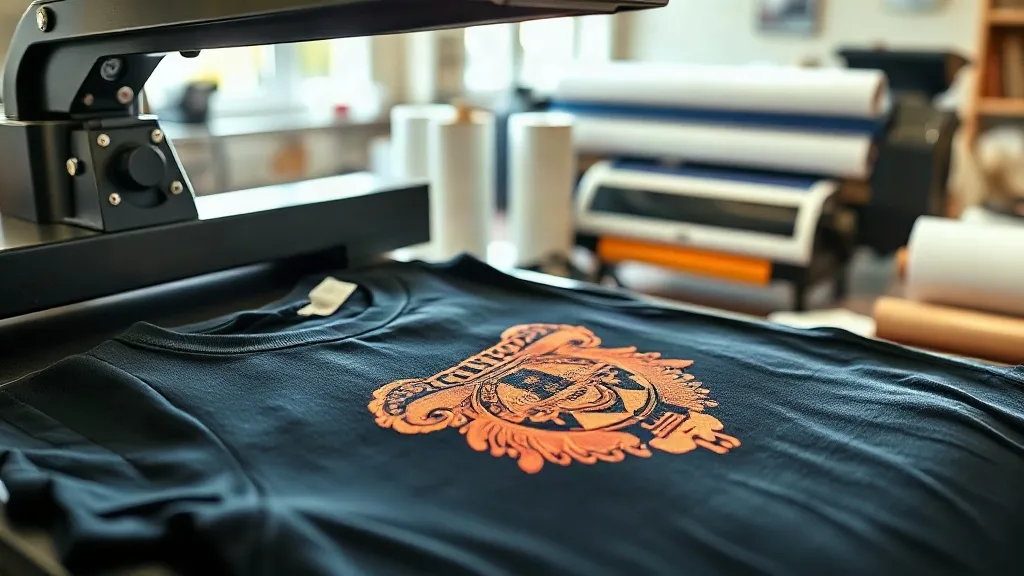
If you've been in the custom apparel scene for any length of time, you've likely heard the buzz around dtf transfers. This printing method has taken the industry by storm, and for good reason. Unlike traditional techniques that limit you to certain fabrics or require expensive equipment, DTF (Direct to Film) opens up a world of possibilities. Whether you're a small business owner looking to expand your product line, a hobbyist wanting to personalize gifts, or just curious about the latest printing technology, understanding DTF transfers is your gateway to professional-quality results.
In this guide, we'll walk you through everything you need to know about DTF transfers: how they work, what materials you need, step-by-step application, and expert tips to avoid common pitfalls. By the end, you'll have the confidence to dive into the world of dtf printing and create stunning, durable designs that impress.
What Are DTF Transfers?
DTF transfers are a type of heat transfer that involves printing your design onto a special film, then applying it to fabric using a heat press. The process begins with a digital printer that uses pigment-based inks to print the design onto a PET film. A layer of adhesive powder is then applied to the wet ink, which acts as a bonding agent when heated. Once the powder is melted, the transfer is ready to be pressed onto a garment.
The beauty of DTF lies in its versatility. Because the adhesive bonds to the fabric fibers, it works on a wide range of materials, including cotton, polyester, blends, and even some synthetics. This is a significant advantage over other methods like screen printing, which can be limited by fabric type, or vinyl cutting, which struggles with intricate designs.
Why Choose DTF Transfers?
There are several compelling reasons to consider DTF for your next project:
- Unmatched Versatility: DTF works on almost any fabric, including dark and light colors, without the need for special pretreatments (except for certain fabrics like nylon).
- Vibrant, Detailed Prints: DTF printers can reproduce fine details, gradients, and full-color images with stunning accuracy. No more worrying about color limitations.
- Durability: When applied correctly, DTF transfers are incredibly durable. They resist cracking, peeling, and fading, even after multiple washes.
- Cost-Effective for Small Runs: Unlike screen printing, which requires setup costs for each color, DTF is economical for short runs and one-offs. You can print a single design without breaking the bank.
- No Weeding Required: If you've ever spent hours weeding vinyl, you'll appreciate that DTF transfers come ready to press. Just cut, peel, and press.
For those who prefer to source ready-made transfers, you can find dtf transfers near me services online that ship directly to your door, making it easy to get started without investing in equipment.
Materials You'll Need
To get started with DTF transfers, gather the following:
- DTF Printer or Pre-Printed Transfers: You can either invest in a DTF printer (which requires maintenance and supplies) or purchase transfers from a supplier.
- Heat Press: A quality heat press is essential for consistent results. You'll need one that reaches at least 320°F (160°C) and provides even pressure.
- Adhesive Powder: This is typically included with transfers, but if you're printing yourself, you'll need to apply it.
- Parchment Paper or Teflon Sheet: To protect your heat press and garment during application.
- Garment: Any fabric you want to decorate, pre-washed and dried.
Step-by-Step Application Guide
Applying DTF transfers is straightforward, but following the correct steps ensures a professional finish. Here's how:
1. Prepare Your Design and Transfer
If you're printing your own transfers, ensure your design is mirrored (unless your printer software handles it). Print on the glossy side of the DTF film. While the ink is still wet, sprinkle adhesive powder evenly over the design, shake off excess, and melt the powder using a heat gun or in an oven at 200°F (93°C) for a few minutes until it becomes glossy.
2. Preheat Your Heat Press
Set your heat press to 320°F (160°C). If your garment is prone to shrinking, pre-press it for a few seconds to remove moisture and wrinkles.
3. Position the Transfer
Place the transfer face down onto the garment. Ensure it's positioned correctly; once pressed, it's permanent.
4. Press the Transfer
Cover with parchment paper or a Teflon sheet. Press with medium to firm pressure for 10-15 seconds. Avoid using too much pressure, as it can cause the adhesive to spread and create a halo effect.
5. Peel the Film
Wait a few seconds for the transfer to cool slightly, then peel the film off in a smooth, even motion. If the design lifts with the film, press again for a few more seconds.
6. Post-Press (Optional)
For added durability, cover the design with parchment paper and press again for 5 seconds. This helps the adhesive fully bond with the fabric.
Expert Tips for Flawless DTF Transfers
Even with a straightforward process, small details can make a big difference. Keep these tips in mind:
- Test on Scrap Fabric: Before pressing onto your final garment, do a test press to dial in the right temperature and pressure.
- Mind the Fabric: Some fabrics, like nylon, require lower temperatures. Always check the garment's care label.
- Avoid Over-Pressing: Too much heat or pressure can cause the adhesive to bleed, resulting in a stiff or glossy finish.
- Store Transfers Properly: Keep unused transfers in a cool, dry place, away from direct sunlight to prevent the adhesive from degrading.
- Wash Inside Out: To prolong the life of your DTF-printed garment, wash it inside out in cold water and tumble dry low.
Common Mistakes to Avoid
Newcomers often encounter a few hurdles. Here's what to watch out for:
- Insufficient Pressure: If the transfer doesn't adhere properly, it may peel after washing. Ensure your heat press applies even pressure across the entire design.
- Wrong Temperature: Too low, and the adhesive won't melt; too high, and you risk scorching the fabric or causing the ink to bleed.
- Peeling Too Soon or Too Late: Peeling while the transfer is too hot can cause the design to stretch; peeling too late can make it difficult to remove the film cleanly. Follow the recommended cooling time.
- Ignoring Fabric Type: Not all fabrics are created equal. Always test and adjust settings accordingly.
Frequently Asked Questions
How durable are DTF transfers?
When applied correctly, DTF transfers can withstand 50+ washes without significant fading, cracking, or peeling. Proper washing (inside out, cold water) extends their life.
Can I use DTF transfers on dark shirts?
Absolutely. DTF transfers include a white ink base that makes colors pop on dark fabrics. This is one of the key advantages over other methods.
Do I need a special printer for DTF?
Yes, DTF requires a printer that uses DTF inks and a film. However, if you're not ready to invest, you can buy pre-printed transfers from suppliers.
What's the difference between DTF and DTG?
DTG (Direct to Garment) prints directly onto the fabric, while DTF prints onto a film and then transfers to the fabric. DTF works on more fabric types and often produces more vibrant results on dark colors.
How do I find DTF transfers near me?
You can search online for local DTF printing services or order from online suppliers that ship nationwide. Many companies offer fast turnaround and competitive pricing.
DTF transfers are a versatile and accessible way to create professional custom apparel. With a bit of practice and attention to detail, you'll be producing stunning designs that last. Whether you're a seasoned pro or just starting, DTF opens up a world of creative possibilities.