
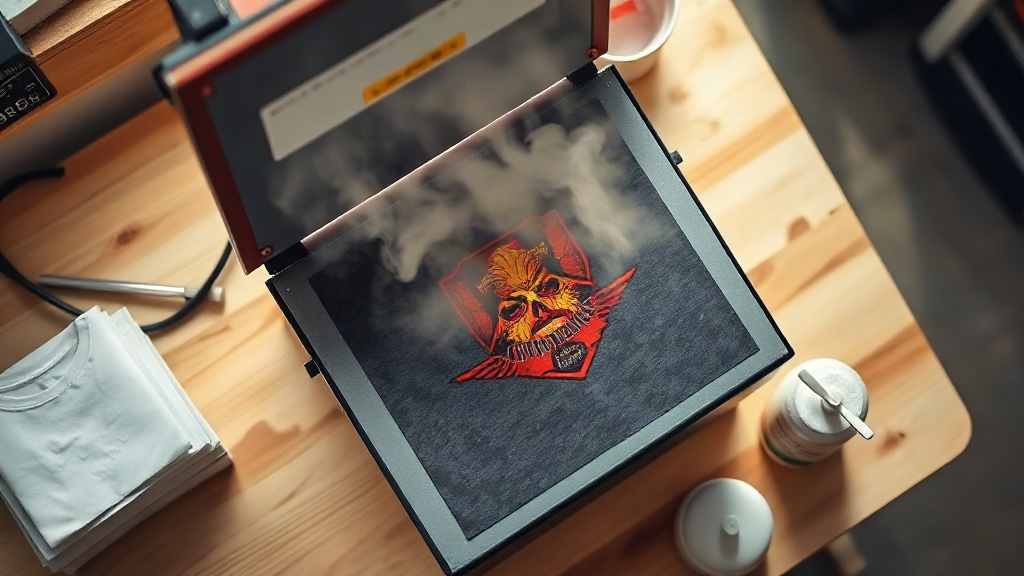
Most people meet DTF Transfers the same way: they see a shirt with a ridiculously detailed, full-color graphic, assume it was screen printed, and then find out it came off a desktop printer and a heat press. That moment is usually when the questions start. Is it durable? Does it work on cotton? Why did my first attempt crack along the edges?
I have pressed a few thousand of these things, ruined more than a handful, and learned most of what matters the slow way. What follows is the version of that experience I wish someone had handed me at the start, without the marketing gloss.
What a DTF Transfer Actually Is
Direct to film is a two-part system. First, a printer lays down a mirror-image design in pigmented ink onto a special PET film. Then a powder adhesive, usually a thermoplastic polyurethane, is scattered across the wet ink and melted into it. The result is a flexible, slightly tacky sheet that you store until you are ready to press it.
When you press that sheet onto fabric, the adhesive re-melts and bonds to the fibers while the ink layer sits on top. Peel the film away and the design stays behind. No weeding, no vinyl cutting, no color separation. That is the entire appeal.
The important consequence is that the bond lives or dies on the adhesive, not the ink. Ink that looks perfect but was pressed too cool, too briefly, or onto the wrong fabric will lift at the corners long before the image itself fades.
Where DTF Beats Other Methods
Every decoration method has a personality. DTF's is versatility. It handles gradients, photographic detail, and dozens of spot colors in a single pass, which is exactly where screen printing becomes expensive and vinyl becomes impossible.
- Full-color artwork with fine detail and soft transitions
- Small runs where setup costs would otherwise dominate
- Cotton, blends, and synthetics with the right film and settings
- Hard-to-print areas like sleeves, pockets, and neck labels
Where it loses ground is on very stretchy performance fabrics, where the print can restrict movement, and on garments that will see industrial laundering. If you are decorating cycling jerseys or rental uniforms, look carefully before committing.
Reading a Transfer Before You Press It
The single most useful habit I picked up is inspecting the sheet before it touches fabric. Hold it up to a light. You want an even, matte-white adhesive coating across the printed area with no bare patches where ink shows through uncoated.
Bare patches are the leading cause of a print that looks fine on day one and flakes on day ten. If you see them, the powder step went wrong at the source, and no amount of extra press time will fix it properly.
Storage Matters More Than People Admit
These sheets absorb moisture from the air. A stack left open in a humid room will press inconsistently, sometimes with a dull, milky finish. Keep them sealed, flat, and away from direct sun. If a sheet feels limp or clammy, dry it briefly before pressing.
Pressing Settings That Actually Work
Manufacturers publish ranges, and ranges are where beginners get into trouble. Treat them as a starting point, then dial in for your specific press and fabric.
- Pre-press the garment for a few seconds to drive out moisture and wrinkles.
- Place the transfer with the printed side down against the fabric.
- Press with medium to firm pressure. Light pressure is the most common failure I see.
- Follow the supplier's time and temperature, typically in the 150 to 165 Celsius range for 10 to 15 seconds.
- Cool completely before peeling. Hot peeling is a shortcut that costs you edges.
- Cover with parchment or a Teflon sheet and press again for a few seconds to lock the adhesive.
That final cover press is not optional in my book. It smooths the surface, improves wash resistance, and gives the print a softer hand.
Pressure Is the Variable Nobody Measures
Most home presses do not display pressure. You have to feel it. The transfer should compress slightly into the fabric weave, and you should see a faint impression of the design in the garment afterward. If the fabric looks untouched, you are too light. If the design is embossed into the fabric like a brand, you are too heavy.
Fabric Choices and Realistic Expectations
Cotton takes these prints beautifully. Ringspun cotton gives a softer hand than heavy carded cotton, and the difference is obvious the moment you wear the shirt. Cotton-poly blends press well and tend to hold up slightly longer because the synthetic fibers grip the adhesive.
100% polyester is where you need care. Polyester dyes can migrate into the print under heat, causing a pink or grey haze over time, especially on dark or vivid garments. A barrier film or a lower pressing temperature helps, but it is not a magic fix. Test before you commit a large order.
Wash Care That Doubles Print Life
Almost every premature failure I have seen traces back to laundry, not the press. The rules are simple and worth repeating to customers.
- Wash inside out, cold, on a gentle cycle
- Skip fabric softener and dryer sheets, which leave a residue that weakens the bond
- Tumble dry low or hang dry
- Do not iron directly over the print
- Wait at least 24 hours after pressing before the first wash
That last point gets ignored constantly. The adhesive continues to cure as it cools and settles. Washing too soon is like pulling tape off a freshly painted wall.
Common Problems and How to Diagnose Them
The print peels at the corners
Usually insufficient pressure, uneven pressure, or a cold spot on the platen. Check that your press heats evenly across the whole platen with an infrared thermometer, not just the center.
The design looks dull or washed out
Often moisture. Pre-press the garment longer, and make sure the transfer itself is dry. Over-pressing can also flatten the ink and reduce vibrancy.
The print cracks when stretched
This is normal on very stretchy fabric and a sign you may need a different decoration method. On normal cotton, cracking points to too much heat or too long a press.
The film will not release cleanly
Cool it longer. If it still fights you, your adhesive may not have fully melted, which loops back to pressure and temperature.
Frequently Asked Questions
How long do DTF transfers last on a t-shirt?
With correct pressing and cold, inside-out washing, expect the print to outlast the garment in most cases. Realistically, you should see dozens of wash cycles with minimal change. Poor laundry habits can cut that dramatically.
Can I use DTF transfers on 100% polyester?
Yes, but with adjustments. Lower the temperature, shorten the press time, and consider a barrier layer on dark or heavily dyed polyester to reduce dye migration. Always test a sample before running a full order.
Do I need a commercial heat press or can I use an iron?
A home iron can work for one-off personal projects, but it cannot deliver consistent pressure or temperature across a large area. For anything you intend to sell, a proper press is the difference between a product and a complaint.
Why did my transfer come out with a milky or hazy look?
Moisture is the usual culprit, either in the film or the garment. Pre-press the fabric, store transfers sealed, and give the sheet a quick dry if it feels damp. Over-pressing can also cause a dull finish.
Should I peel the film hot or cold?
Cold peel. Let the transfer return to room temperature before removing the film. Hot peeling pulls adhesive away from the fabric before it has fully set, which weakens the edges first.
None of this is complicated, but it is unforgiving of shortcuts. Get the pressure right, keep your materials dry, and let things cool. Do those three things and DTF Transfers will quietly outperform your expectations for a long time.